Timeless Durability: The product is fired at high temperatures, allowing the clay body and color glaze to fuse into a unified, monolithic structure. This process creates optimal hardness and excellent impact resistance, with a guarantee of color fastness over time.
Self-Cleaning Mechanism: The combination of a high-wave design and a smooth ceramic glaze surface allows the roof to easily wash away dust and dirt during rain. As a result, the tile surface remains shiny and completely prevents moss and mold growth.
Dual Waterproofing System: A scientifically designed system featuring double water-blocking ridges, high anti-splash ridges, and deep drainage grooves optimizes water flow. This effectively prevents water backflow, even under severe storm conditions.
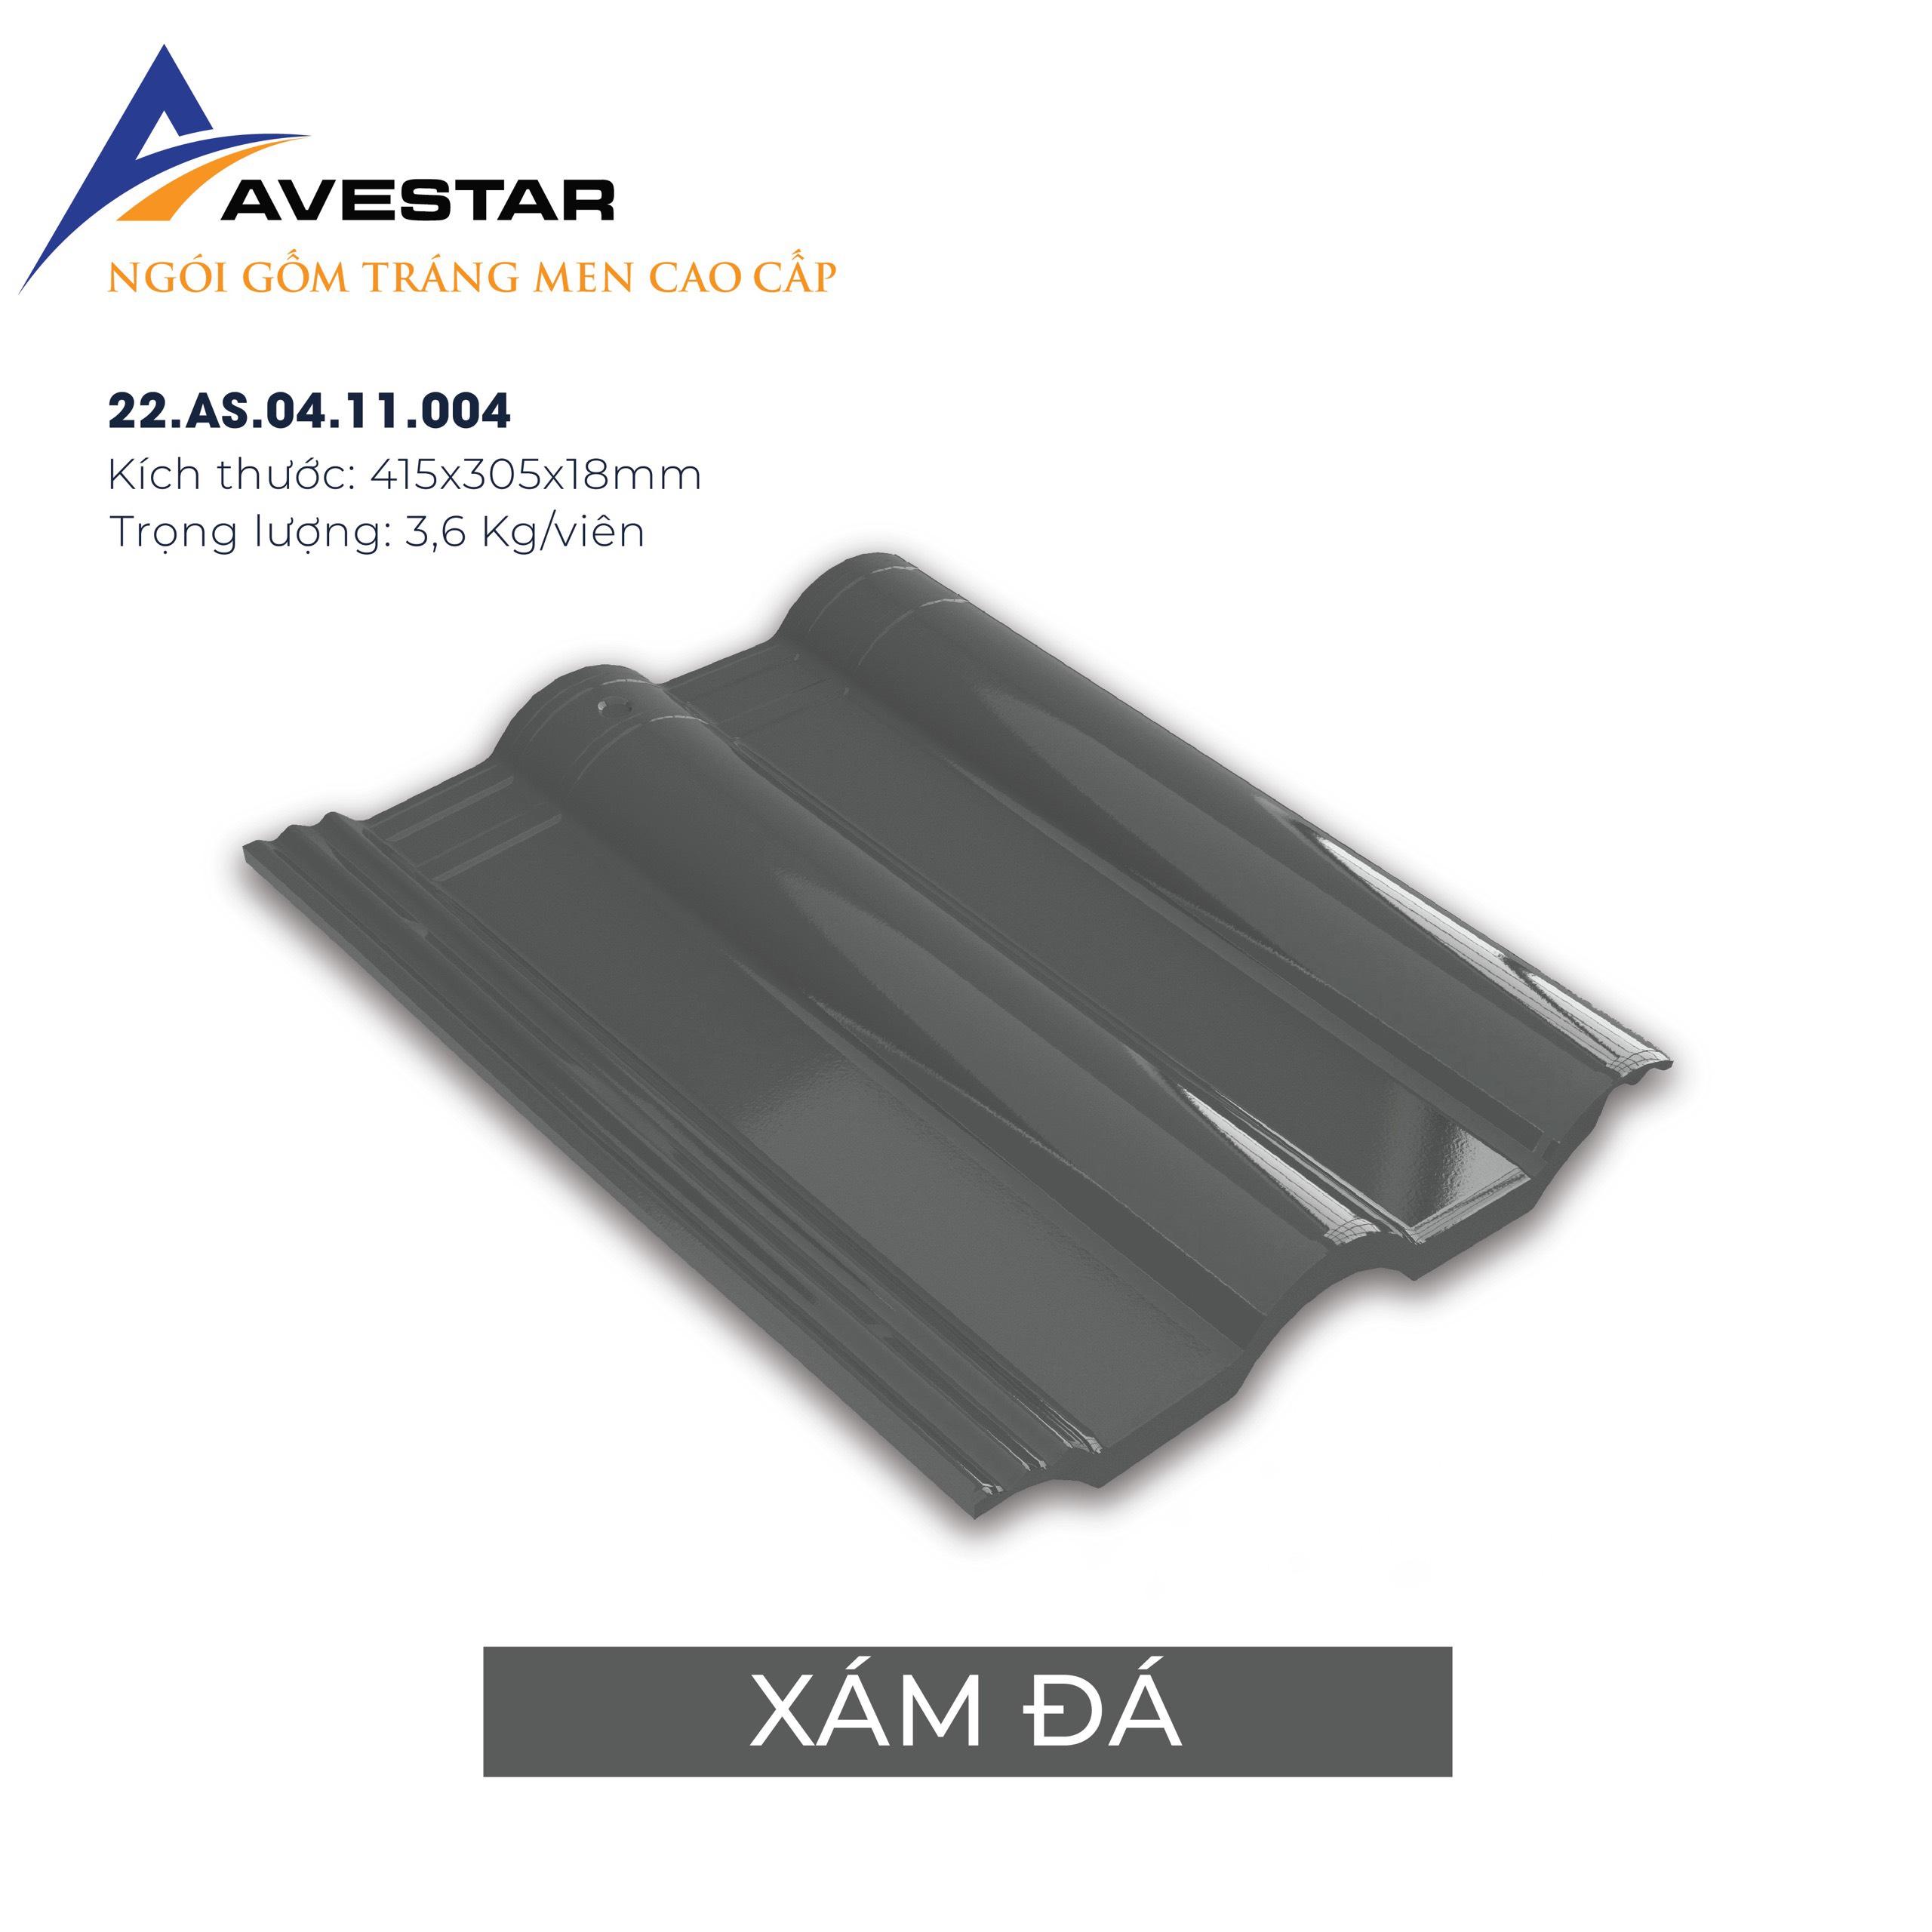
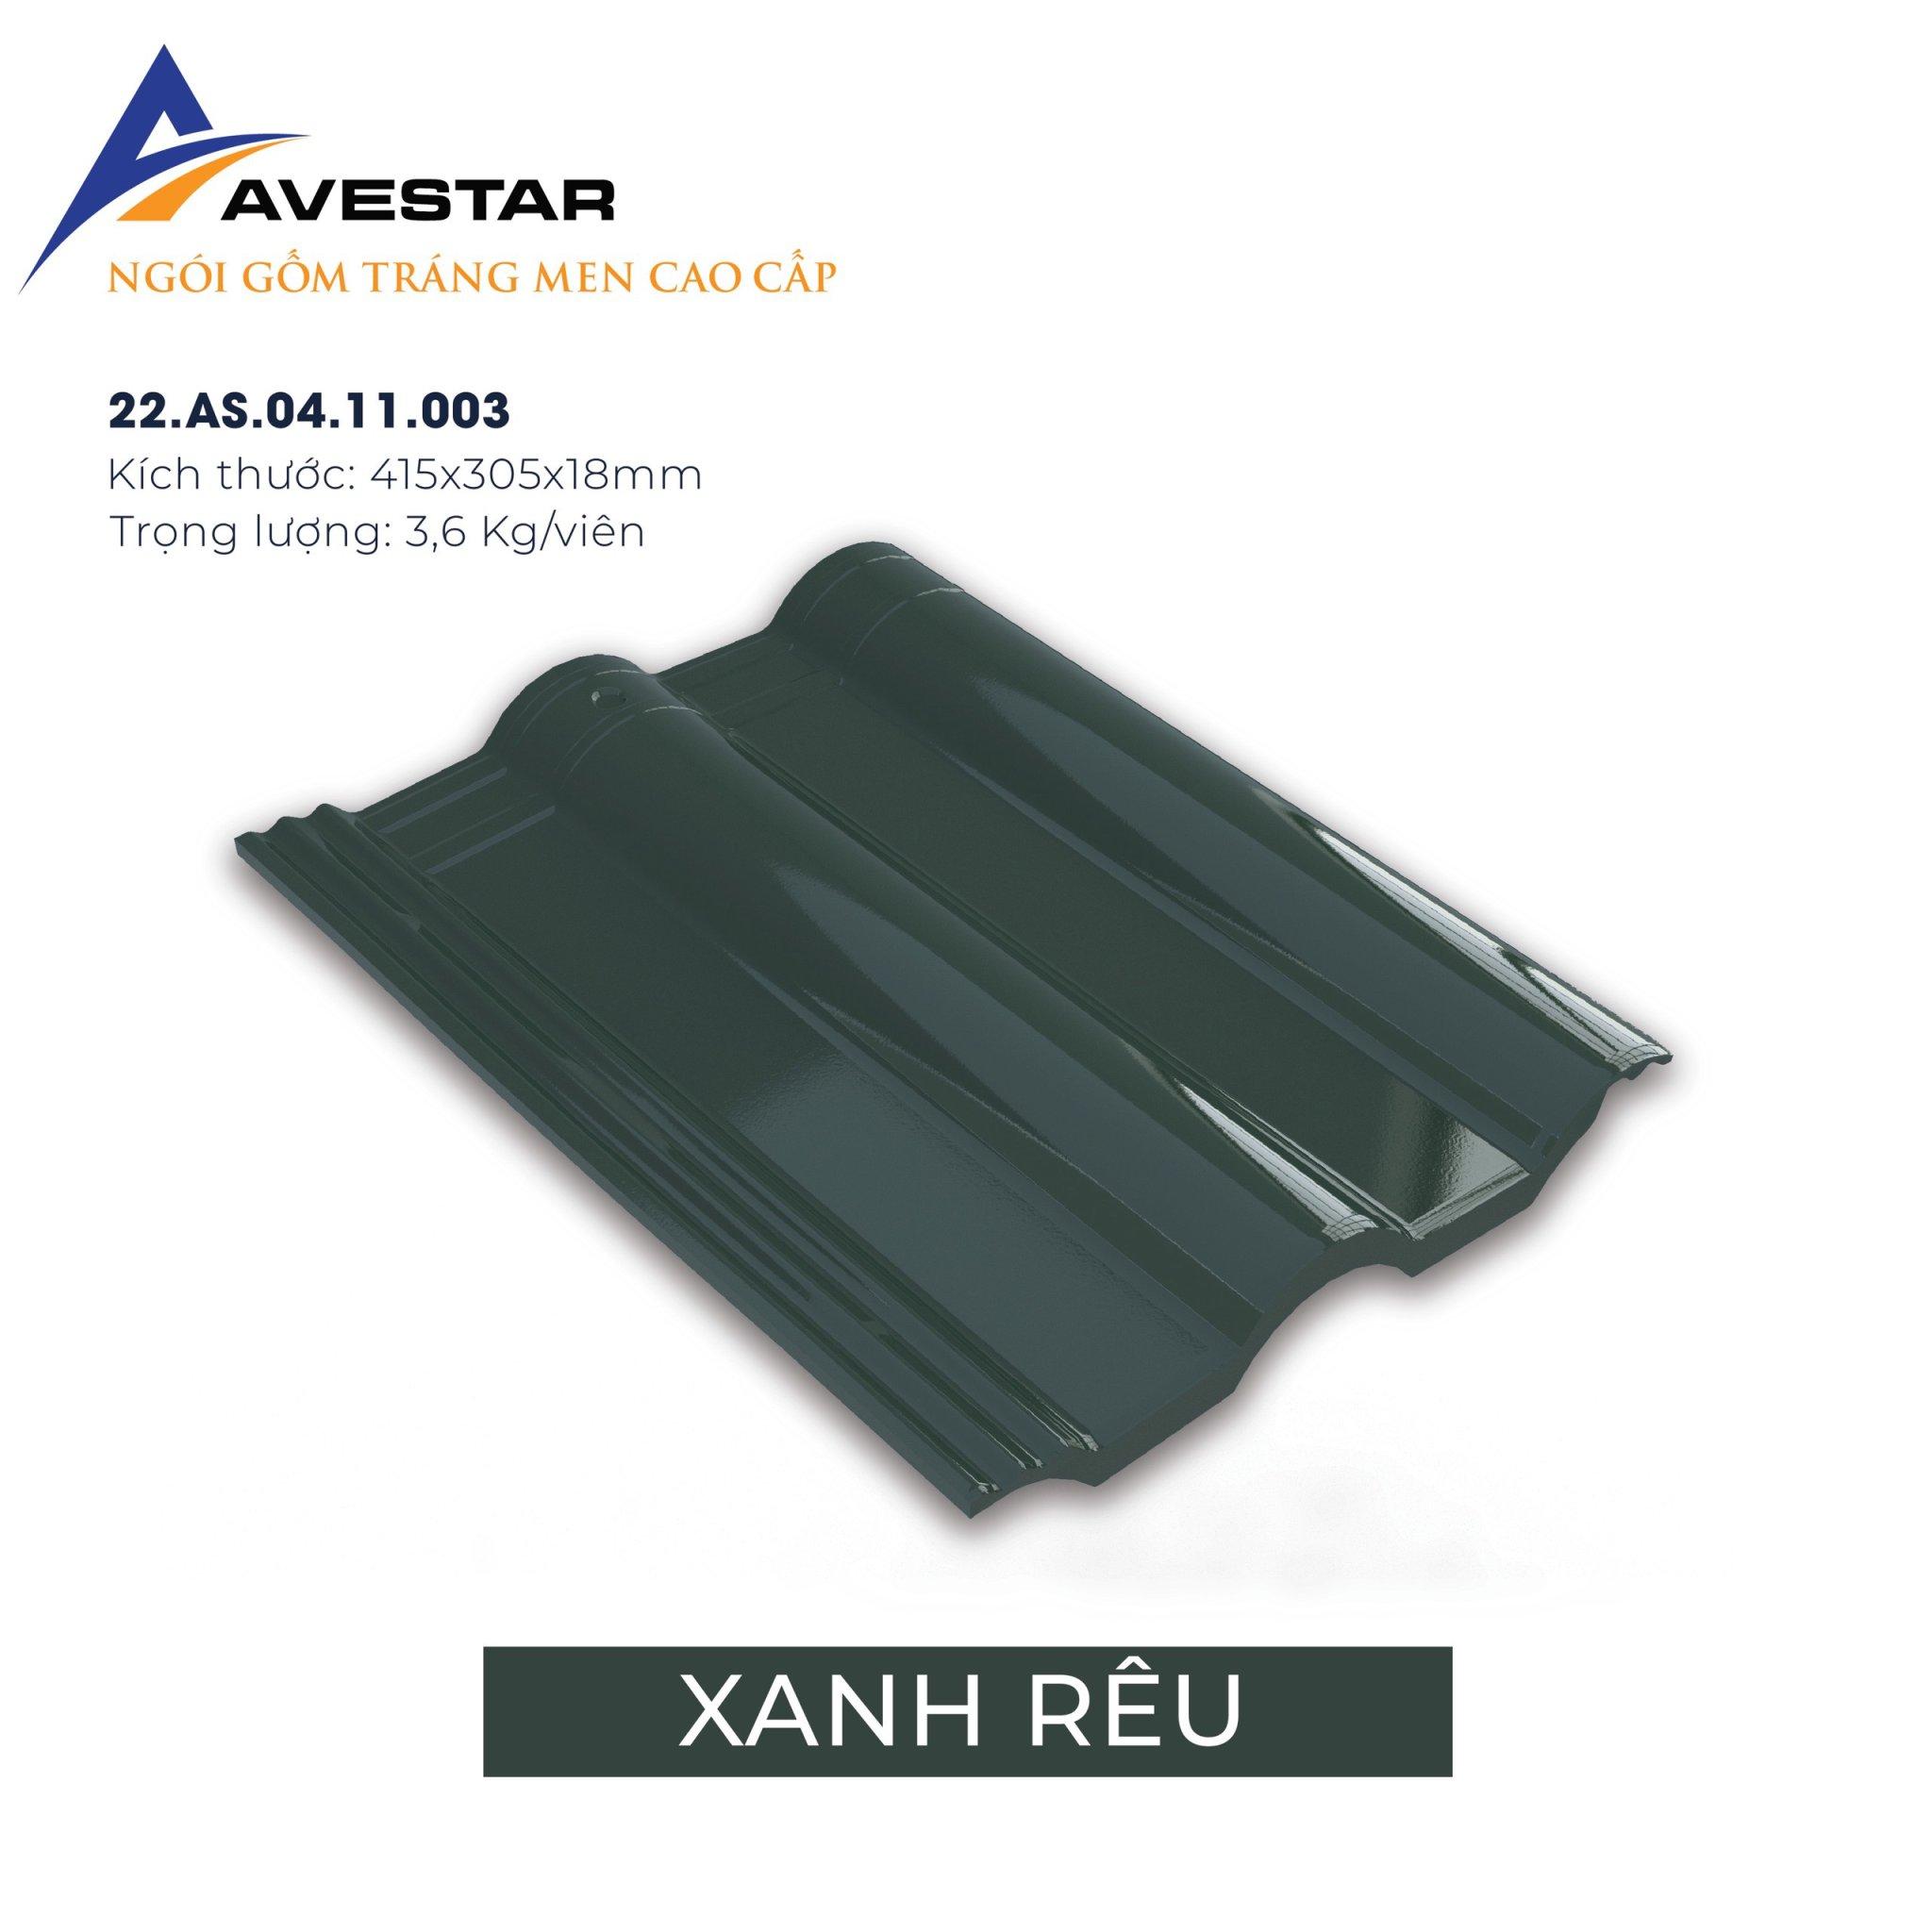
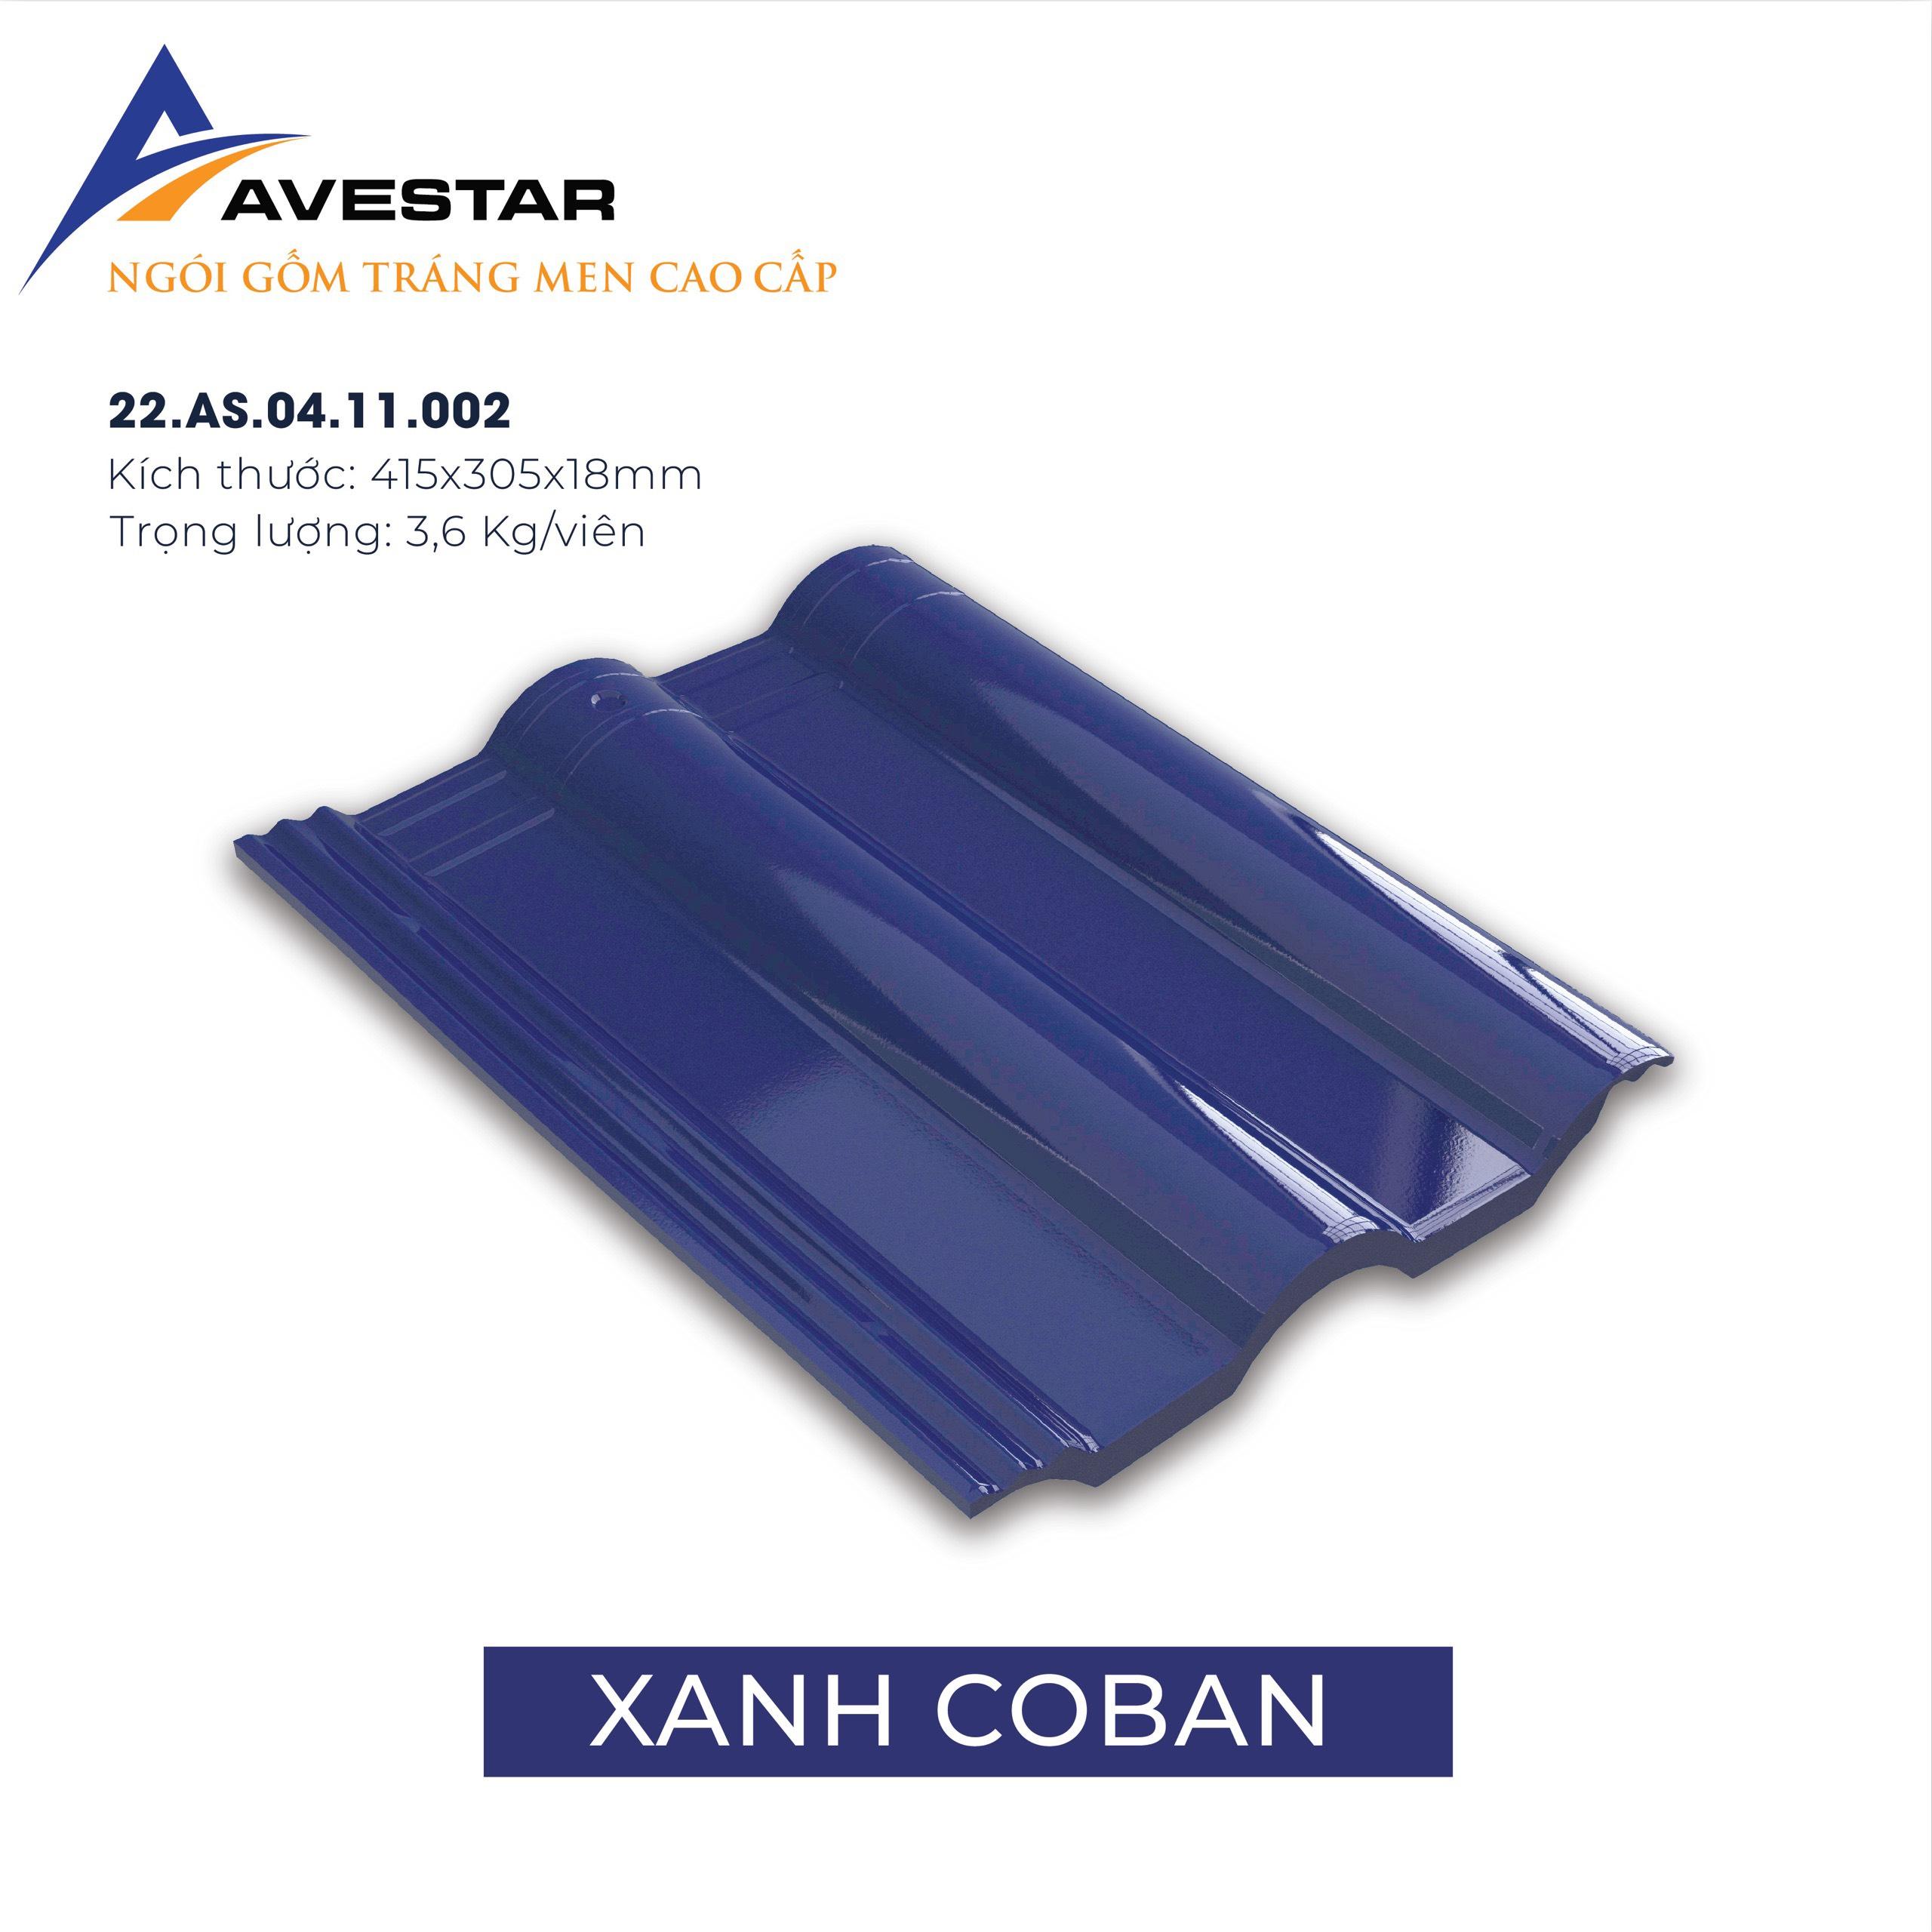
Modern Aesthetics: Our diverse color palette is researched based on international architectural trends while remaining tailored to the tropical climate. It perfectly suits a wide range of design styles, from classic to modern.
Cost Efficiency: With a batten spacing (lath distance) of 340 – 360 mm—larger than that of traditional tiles—this product helps homeowners significantly save on installation time and roof framing material costs.
1. Technical Specifications for Tiles & Accessories
Product Type
Dimensions (mm)
Weight (kg/pc)
Packaging (Pcs/box)
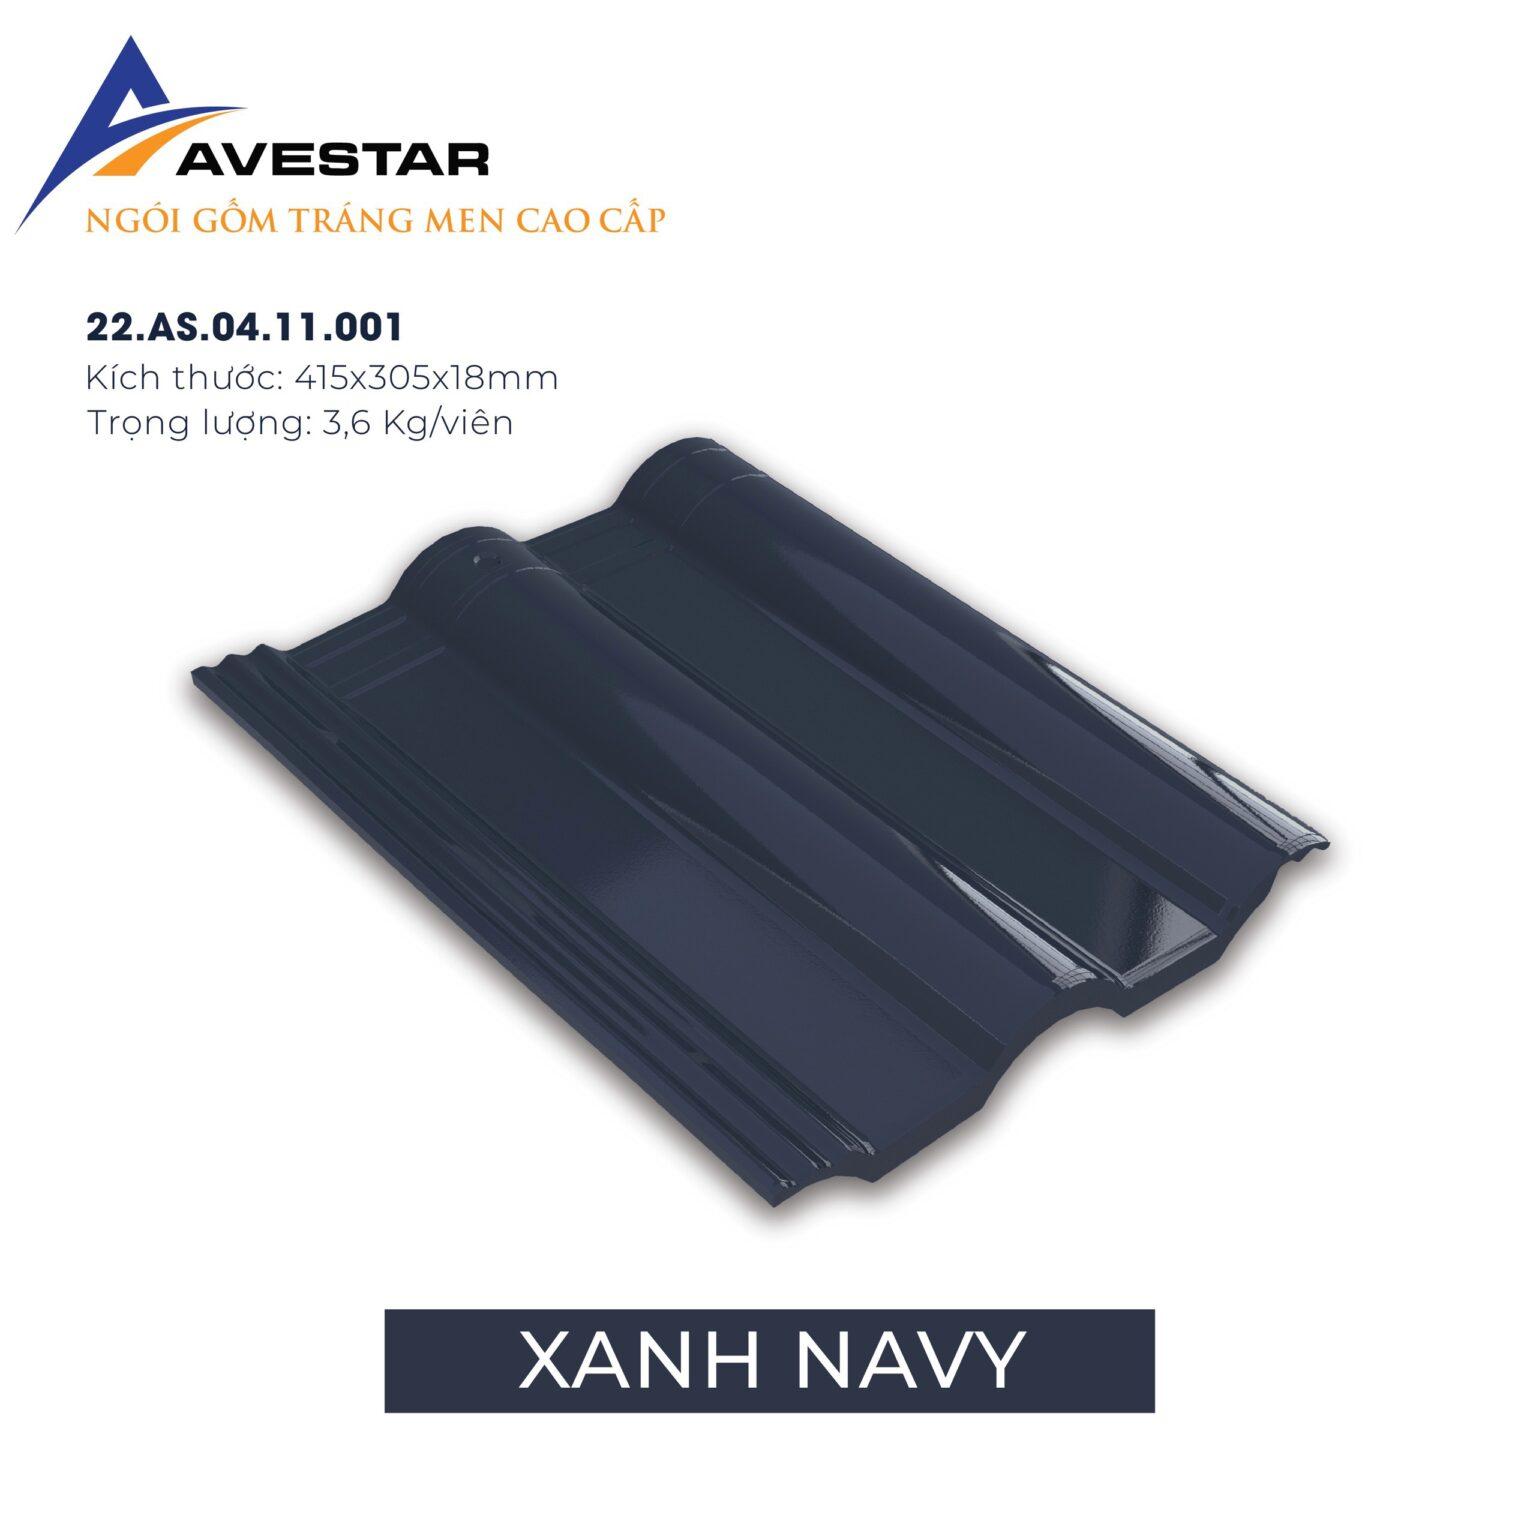
Main Roof Tile
415 x 305
3.60
10
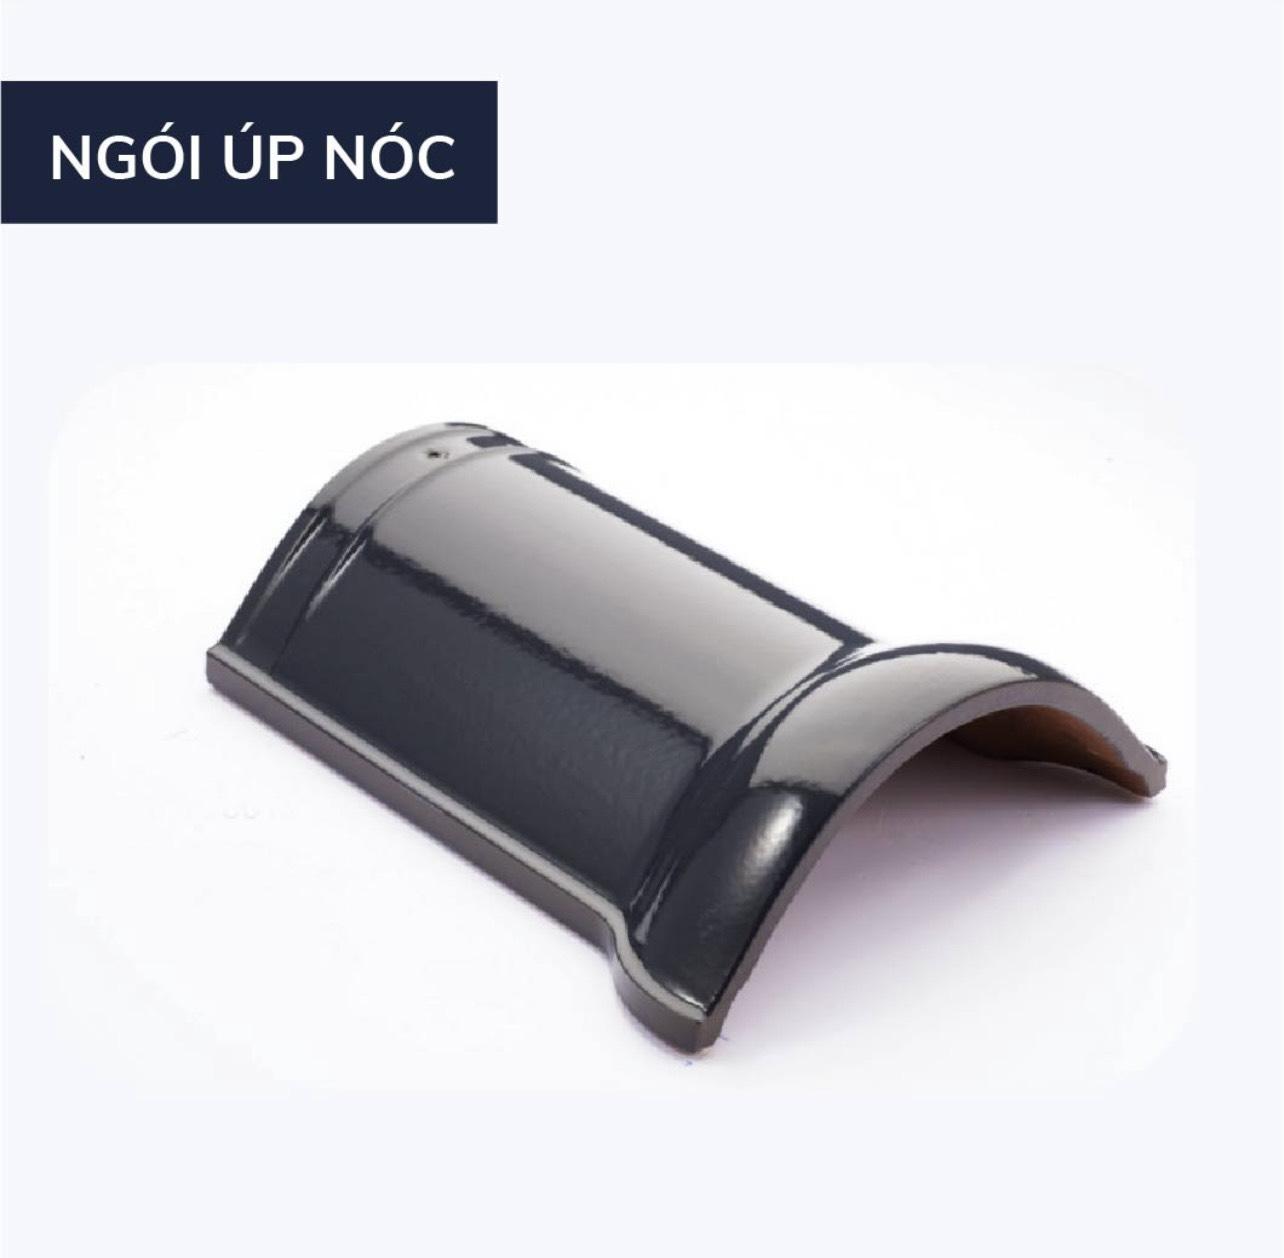
Ridge Tile
250 x 300
2.00
14
Edge Tile / Verge Tile
145/190 x 320
1.50
16
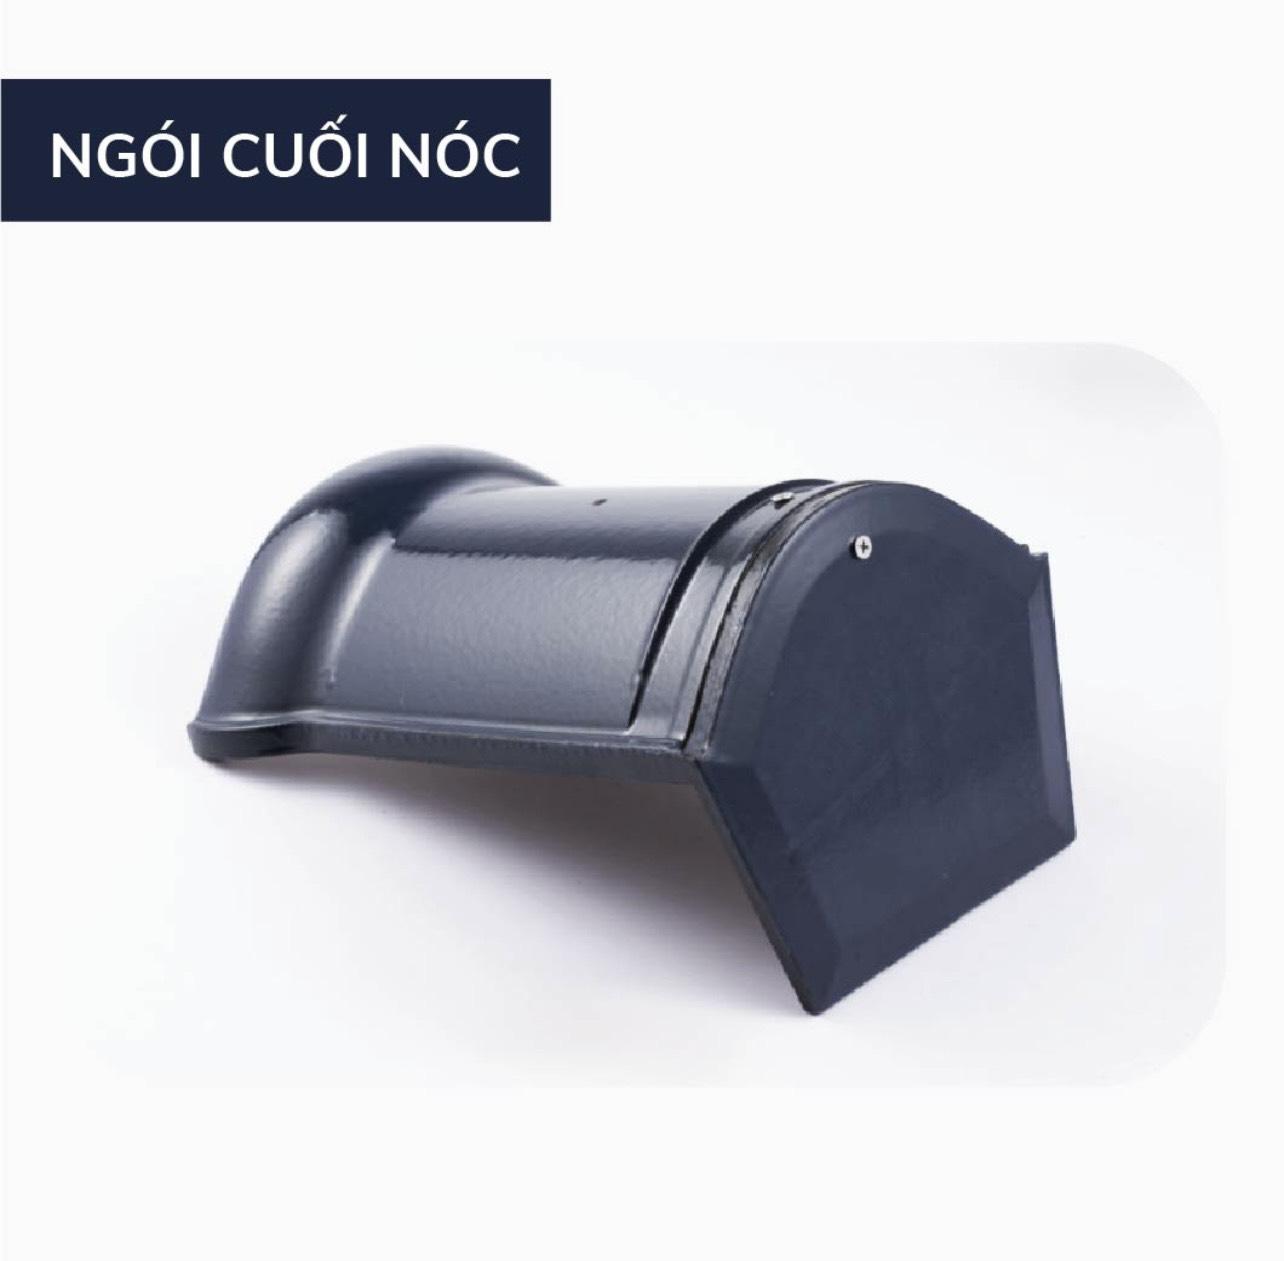
Ridge End Tile
300 x 200/325
2.75
04
Edge End Tile
145/190 x 320
1.50
04
3-Way Ridge Tile
400 x 400
3.40
04
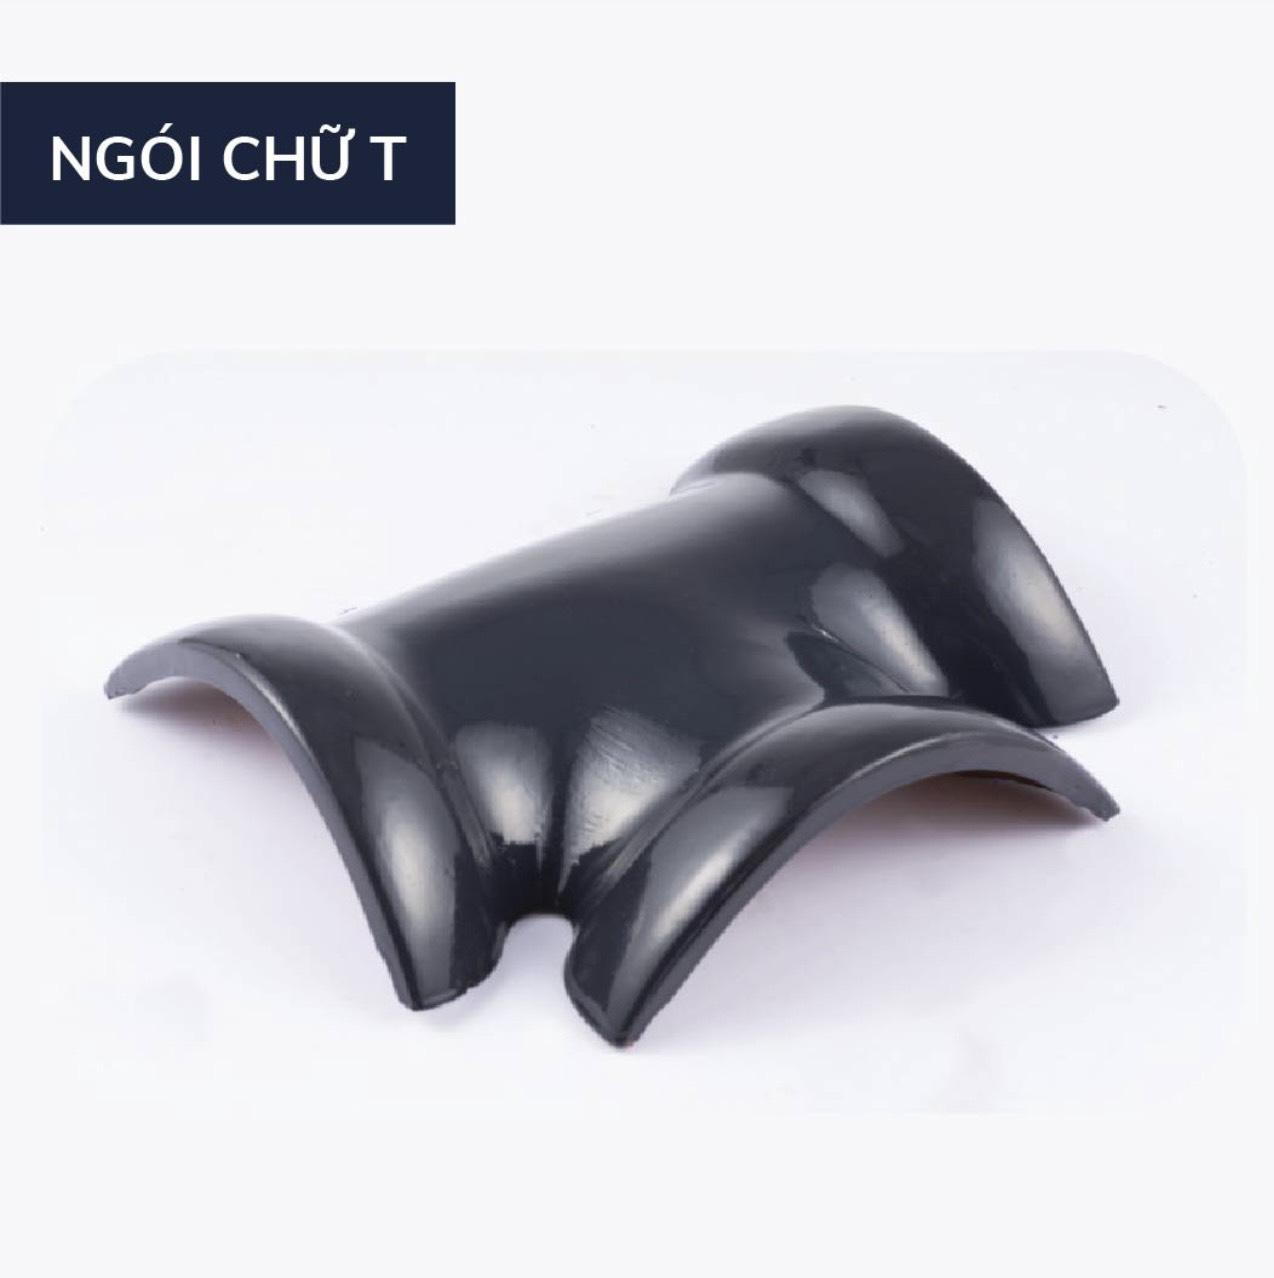
T-Junction Tile
310 x 365
3.00
04
Eaves Tile
205 x 77
2.10
04
2. STANDARD BATTEN SPACING PROCEDURE
To ensure a flat roof and efficient drainage, technicians must follow these 3 steps to determine the batten spacing (lath distance):
Step 1: Determine the first batten row (f) Measure from the rafter apex to the center of the first batten row. Distance (f) depends on the roof pitch:
Roof pitch 35° – 45°: f = 30 mm.
Roof pitch > 45°: f = 20 mm.
Step 2: Determine Main Batten Spacing (L1) The standard spacing between battens for Avestar tiles is: L1 = 340 – 360 mm.
Step 3: Handle the final batten row (L2) Divide the remaining distance evenly from the top. Any excess length should be accumulated in the last row. Important Note: The final batten row must be raised 20mm higher than the other rows to create a proper drainage slope.
3. MANDATORY INSTALLATION GUIDELINES
Materials: Must use tiles from the same production batch and same color code on a single roof.
Structure: Minimum rafter size of 40x80mm (spacing 800-1200mm); Batten width of 25-40mm.
Strictly Prohibited: Do not mortar tiles directly onto a concrete roof or use wooden/concrete battens (prone to cracking due to thermal expansion/contraction).
Tiling Technique: Install in a straight bond (aligned), not staggered. Proceed from left to right and bottom to top.
Fastening: Use 60-70mm screws. Screw moderately tight for 100% of main tiles (including cut tiles).
At the Verge: Minimize tile cutting. Ensure the edge of the verge tiles and main tiles are aligned in a straight line.
4. 5 KEY ADVANTAGES OF AVESTAR TILES
Timeless Durability: Clay body and glaze are fused into a monolithic block, offering high load-bearing capacity and guaranteed color fastness.
Self-Cleaning: Glossy glaze surface combined with a high-wave design helps wash away dust and prevents moss growth.
Dual Waterproofing: Water-blocking ridges and deep drainage grooves absolutely prevent water backflow.
Aesthetics: Diverse color palette following international architectural trends.
Cost Efficiency: Large batten spacing (340-360mm) significantly reduces material and labor costs for the roof frame.
Subscribe our Newsletter
Sale 20% off all store
Your experience on this site will be improved by allowing cookies.
These cookies are essential for the website to function properly.
These cookies help us understand how visitors interact with the website.
These cookies are used to deliver personalized advertisements.